Braising Meat Perfectly in 10 Simple Steps
The days are getting shorter, the weather is getting colder and as I’m writing this, we still find ourselves in the midst of a pandemic. It’s times like these when we seek out simple comforts to keep us going. There are plenty of culinary comforts we can turn to in times like these but for me, the satisfaction of braising a piece of meat is hard to top.
Using only a few simple ingredients, gentle heat and time, you’ll be able to transform a tough and inexpensive cut of meat into something incredibly flavourful and tender. There’s something comforting about the process as a whole. The inviting smells permeating through the kitchen and the long cooking process does a fine job of adding a little extra warmth to the household.
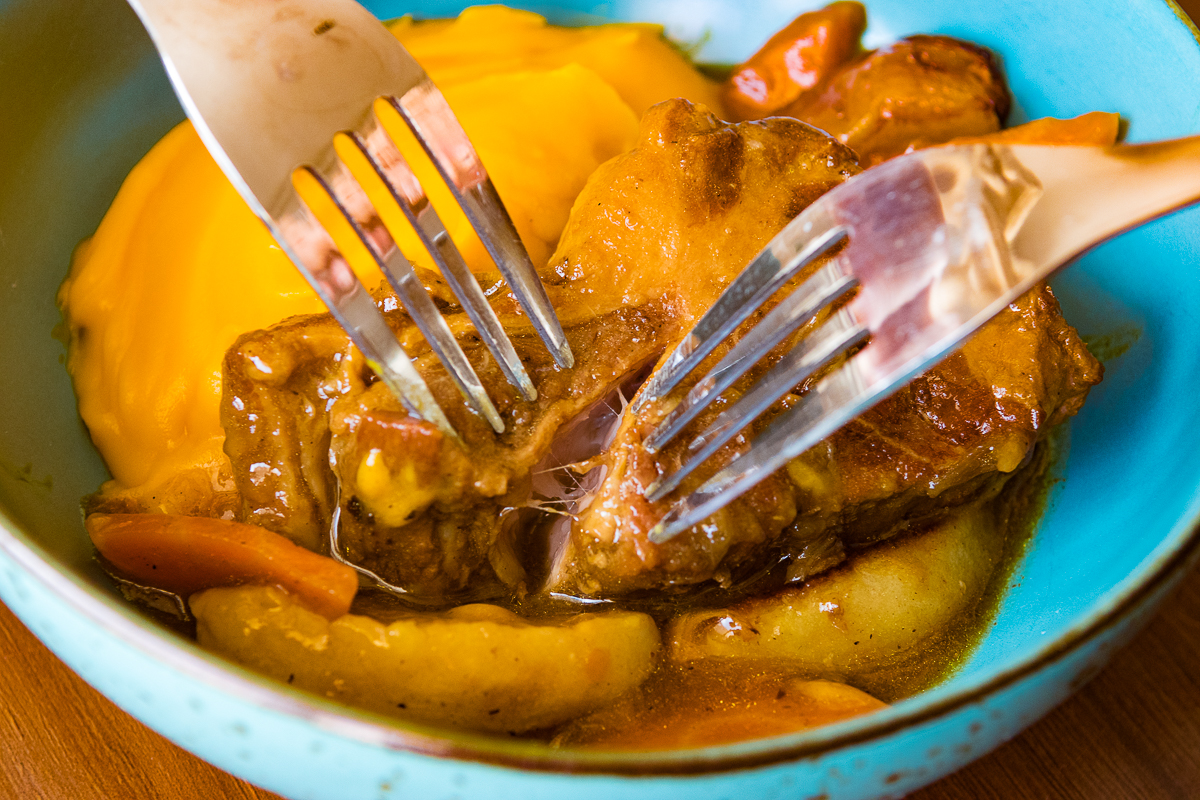
What is braising?
Braising is a combination cooking method, whereby we use two cooking techniques for best results. Recipes often start by searing meat over high heat to develop colour and flavour. Once the meat is browned nicely, it’s partially covered with water or another cooking liquid and simmered at a gentle heat for a prolonged period of time until the meat is fork tender. Braising is quite similar to stewing except the pieces of meat in a braise are typically larger and they aren’t completely submerged in liquid. Often when I want to make a stew, I’ll braise a larger piece of meat and then break it up into smaller pieces after cooking.
What can I braise?
You can braise certain fish and vegetables but that won’t be the focus of this post. You can technically braise any cut of meat but you want to opt for tougher, cheaper cuts of meat with plenty of fat, collagen and connective tissue. Over a long cooking time at a low temperature, these tough fibres will break down and the tough collagen will slowly become delicate gelatin. This gelatin, along with the softened and rendered fat will lubricate the cooked-through muscle fibres giving you that sense of richness and tenderness instead of overcooked meat.
What can I do with braised meat?
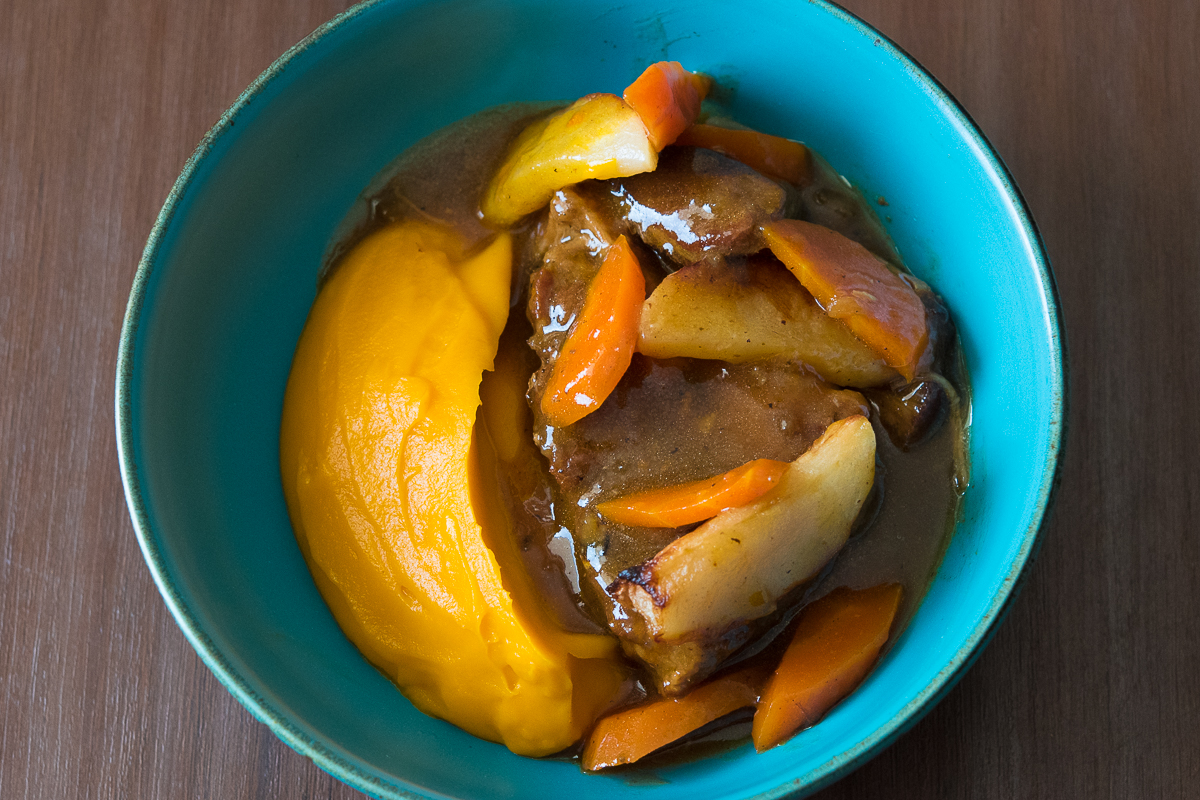
It’s delicious served with a plain, starchy side like rice, polenta, mashed potatoes or even just plenty of crusty bread. However, it has a lot of applications in other recipes you know and love. Braises can make some incredibly delicious ragu to serve over pasta, meaty pie fillings, pulled pork or shredded chicken. Use it to fill up tacos, burritos, sandwiches, bao buns and crunchy croquettes. Being able to braise effectively unlocks so much incredible culinary potential!
One of my favourite ways of both eating and serving a main course is to present both a cheap cut and an expensive cut of meat from the same animal, cooked in different ways. For example a sauteed lamb loin served medium rare accompanied by a portion of lamb neck, that’s falling apart, tender and doused with sauce. For a meal where you’d like to go over and above to impress somebody this combination never fails.
10 Steps to Perfect Braises Every Time
1. Choose the perfect cut of meat
Looking at the anatomy of an animal, you’ll want to select the muscles which do plenty of work and develop plenty of muscle. The tender cuts like a fillet of beef which sit on the back of the animal are ideal for quick cooking methods like sauteing, but not for braising. The lack of tough muscle fibres and connective tissue means that after a long period of cooking, the fibres will dry out and there is nothing to add richness or flavour. You’ll end up with just dried out strands of meat.
A lamb shank on the other hand comes from the leg of the animal. The legs carry around the weight of the animal constantly. This amount of work makes for very tough meat, quick cooking would leave it gristly, chewy and inedible. However, given the opportunity to cook gently over a long period of time it will become so tender you can eat it with just a fork and it will be incredibly flavourful.
If you’re in doubt, find a butcher you can trust and ask for his recommendations from what he has available.
My personal favourite cuts for braising are
Beef: bone-in short ribs, oxtail, shanks/shin (osso buco style), beef chuck
Pork: collar/neck, shoulder, ham hocks, belly, ribs
Poultry – bone in thigh, drumsticks, whole legs
Lamb – shank, breast, shoulder, neck
When possible, I’ll opt for a cut of meat that still has a bone inside it. It will take longer to cook but the bone will add flavour and body to your braise.
2. Pick the best cooking vessel
I’m a fan of wide, heavy bottomed pots with plenty of space for me to both brown my meat well and cook my braise. Cast iron or enameled cast iron is my go-to here, but any sturdy pot or dutch oven large enough to hold your braise should do just fine. Avoid using a non-stick pot where possible because we want the meat to colour while leaving behind brown crispy bits on the bottom of the pan.
I’ve got my meat and my pot, now what?
While recipes for braised meats may vary from one to another, the basic technique remains fundamentally the same. Follow these steps and you’ll be able to turn any tender cut of meat that’s thrown at you into melt-in-your-mouth perfection!
3. Portion and prep your meat
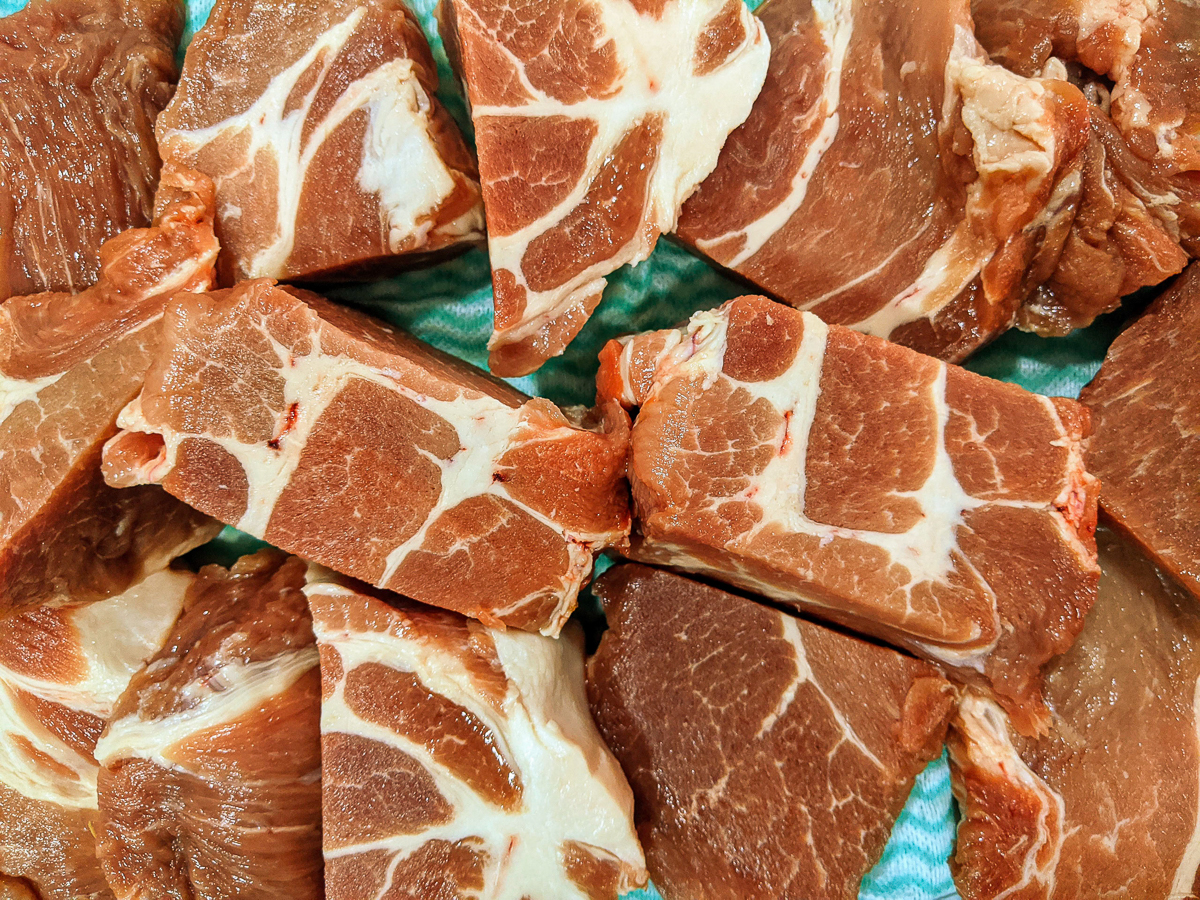
If you have a large piece of meat – a whole pork shoulder for example – I would recommend cutting it down into large pieces, roughly 2 inches long. Pat dry with paper towels to remove any surface moisture as this will inhibit browning. Just before the meat is going to hit the pan season liberally with salt.
4. Brown your meat and develop a fond
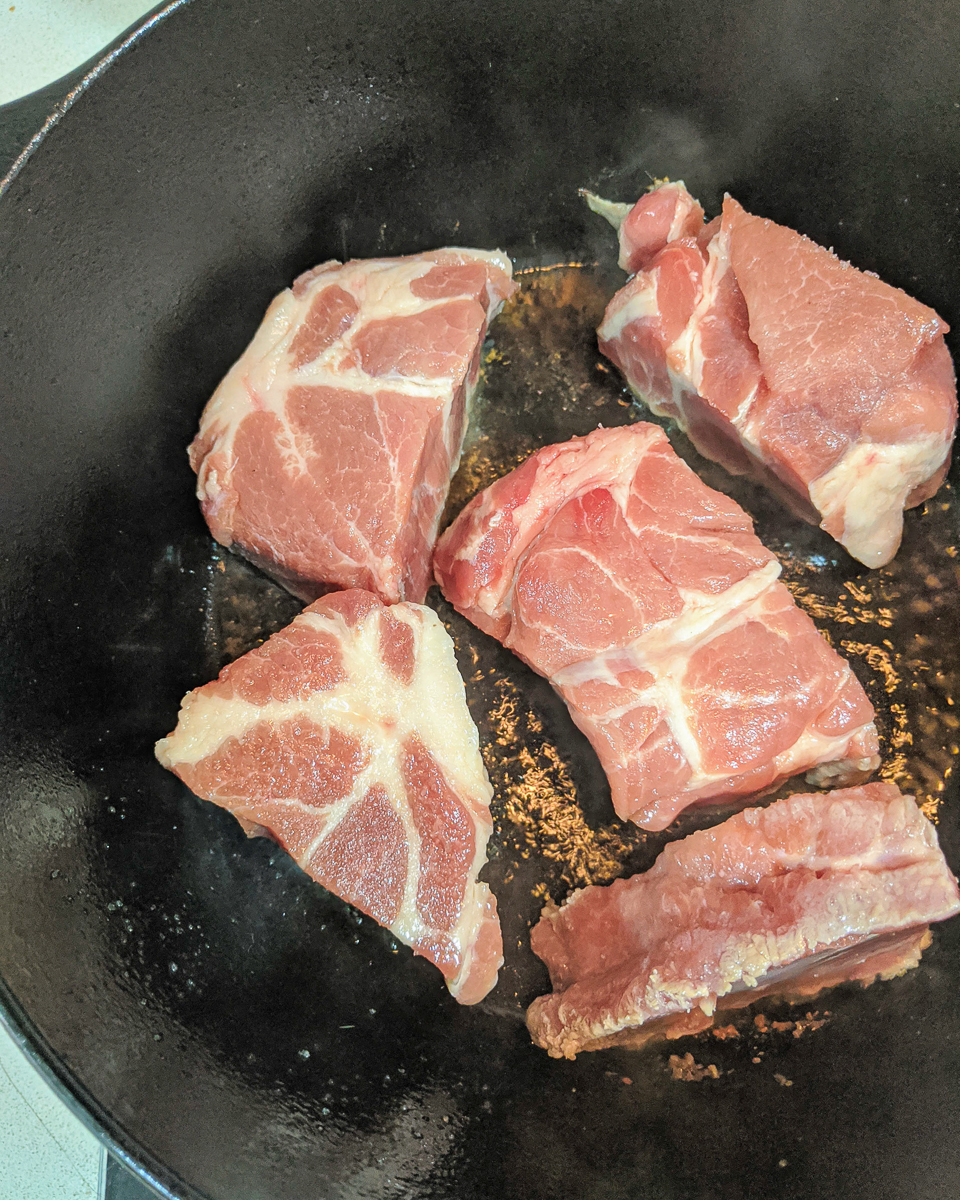
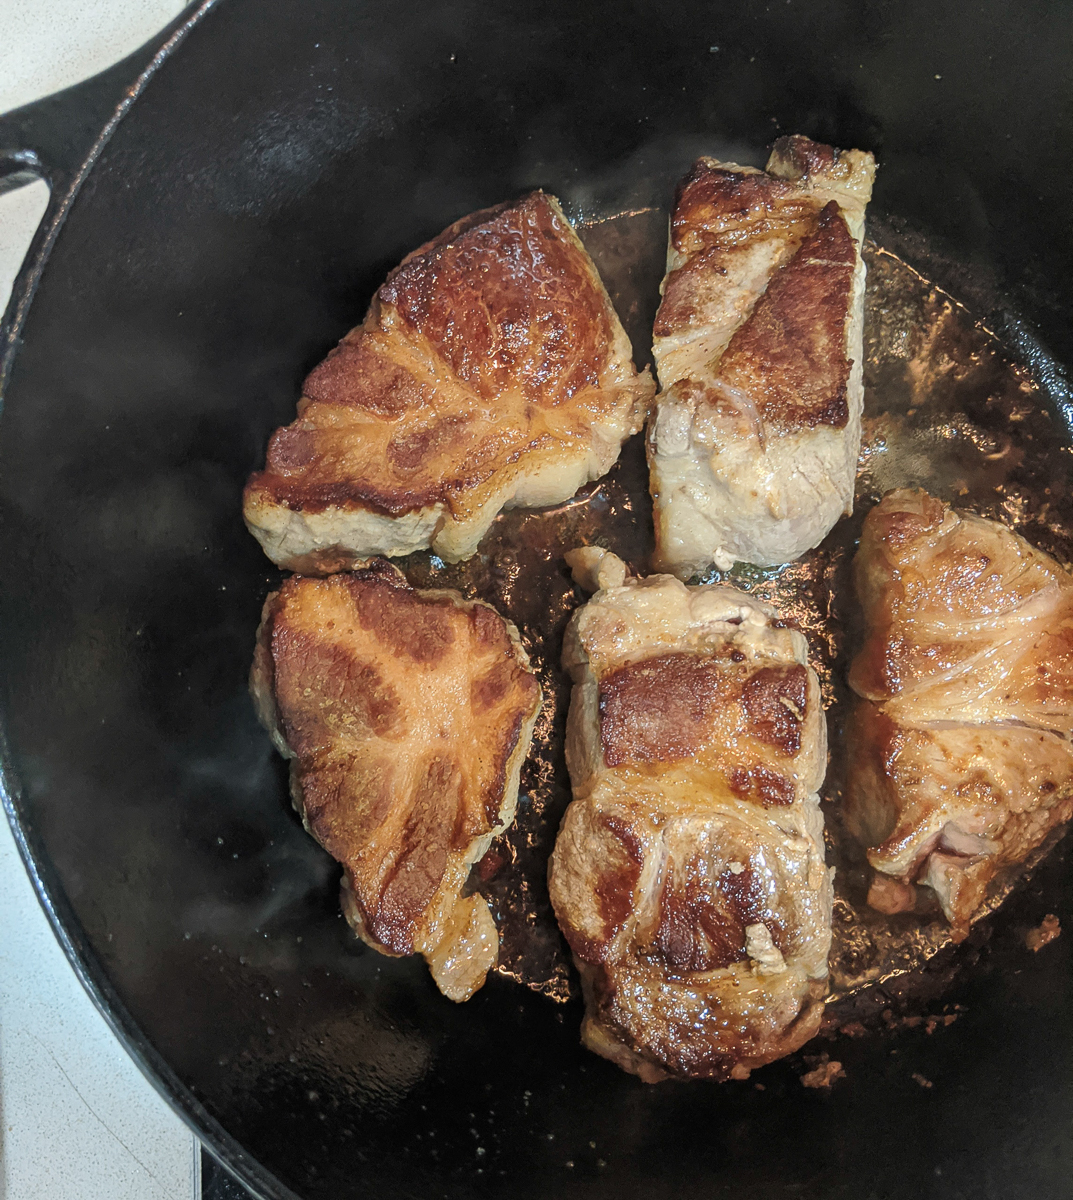
Get your heavy bottomed pan ripping hot and add some neutral oil with a high smoke point like vegetable or canola. Add the meat to the pan but always leave a few centimetres of space in between pieces, otherwise they will steam onto each other, preventing browning. Work in batches so as not to overcrowd the pan if necessary.
Don’t move any meat around for at least 1 minute after you place it in the pan. Be patient and allow the meat to brown and develop a crust. Turn the meat over and repeat the process until each piece is beautifully browned. When you remove and move your meat you’ll notice plenty of brown crispy bits stuck to the bottom of the pan. These bits are going to give you loads of colour and flavour in your finished braise. These bits are referred to as “fond”. These bits are gold.
5. Add flavour and depth through aromatics
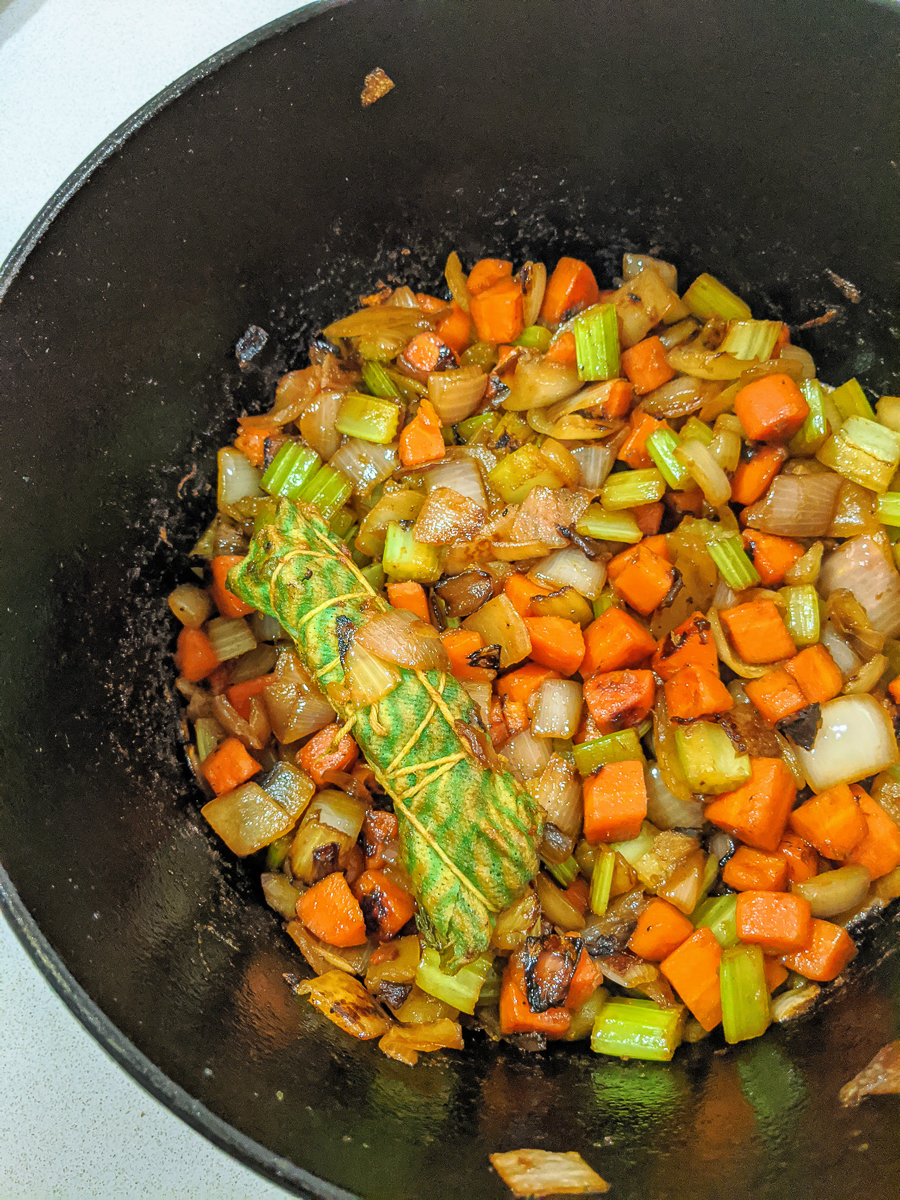
Hey Steve, what are aromatics? I’m glad you asked! Aromatics are usually an assortment of vegetables that will add flavour and depth to your dishes. We can also include here other flavouring ingredients like fruits, spices and hard herbs that will hold up in cooking and add something to the braise. Common vegetable additions in classic french cooking would be a mix of onion, carrot and celery known as mirepoix. This is often paired with a little bundle of herbs and spices like bay leaves, thyme and black peppercorns. The braise takes on characteristics and flavour from each of these ingredients. Other popular options are ginger, garlic, lemongrass, spring onion, leek, and shallot to name a few.
Add these vegetables to the oil left in the pan and season lightly with salt. This will allow some moisture to come out from them so you can start removing some of that fond from the bottom of the pan. Veggies added at this stage will often break down by the end of cooking and will contribute to the braise by adding flavour and body; but not much texture. You can add chunky pieces of vegetables at a later stage of cooking for garnish.
I like to add hard herbs such as rosemary, thyme or bay leaves tied together in a little bundle with string so that they give off their flavour but I don’t need to remove individual twigs from my finished braise. If you have a lot of whole spices you would like to add, it may be worth making a little pouch from muslin or cheesecloth to secure the spices. Similar to a tea bag, this layer of cloth allows the flavour from the spices to infuse into the braise without having to worry about one of your dinner guests chomping down on a whole peppercorn. Allow this to cook for a few minutes until the cooking oil is flavoured with all of your delicious aromatics.
6. Deglaze the pan
Deglazing is the addition of liquid to your pan to remove any leftover fond from the bottom. This can be done with any liquid – water, beer, wine, stock, brandy, vermouth, juice, etc to great effect. In the previous step, adding vegetables can be a form of deglazing. Vegetables are made up of a large percentage of water which is expelled while cooking. Adding salt to these vegetables will promote the loss of water, allowing you to scrape off some of that tasty fond without burning it.
When I deglaze with a strong alcohol such as brandy I’ll allow it to cook down to reduce its volume as well as to lose some of the raw alcohol flavour. Use a wooden spoon or spatula to scrape the bottom of the pan and remove all of the fond. Once the fond has been lifted, add your meat back to the pan. Top up with enough liquid to almost completely cover the meat. For the main cooking liquid I am a big fan of using meat stocks because of the extra gelatin that they lend which will provide body and flavour in the finished dish. Add more liquid for a looser, stew consistency or less liquid for a more concentrated sauce. The concentration of the sauce can still be adjusted at the end of cooking if you’ve added too much liquid. Season the cooking liquid with salt but keep in mind the liquid will reduce and concentrate the seasoning so don’t push it.
7. Low and slow cooking
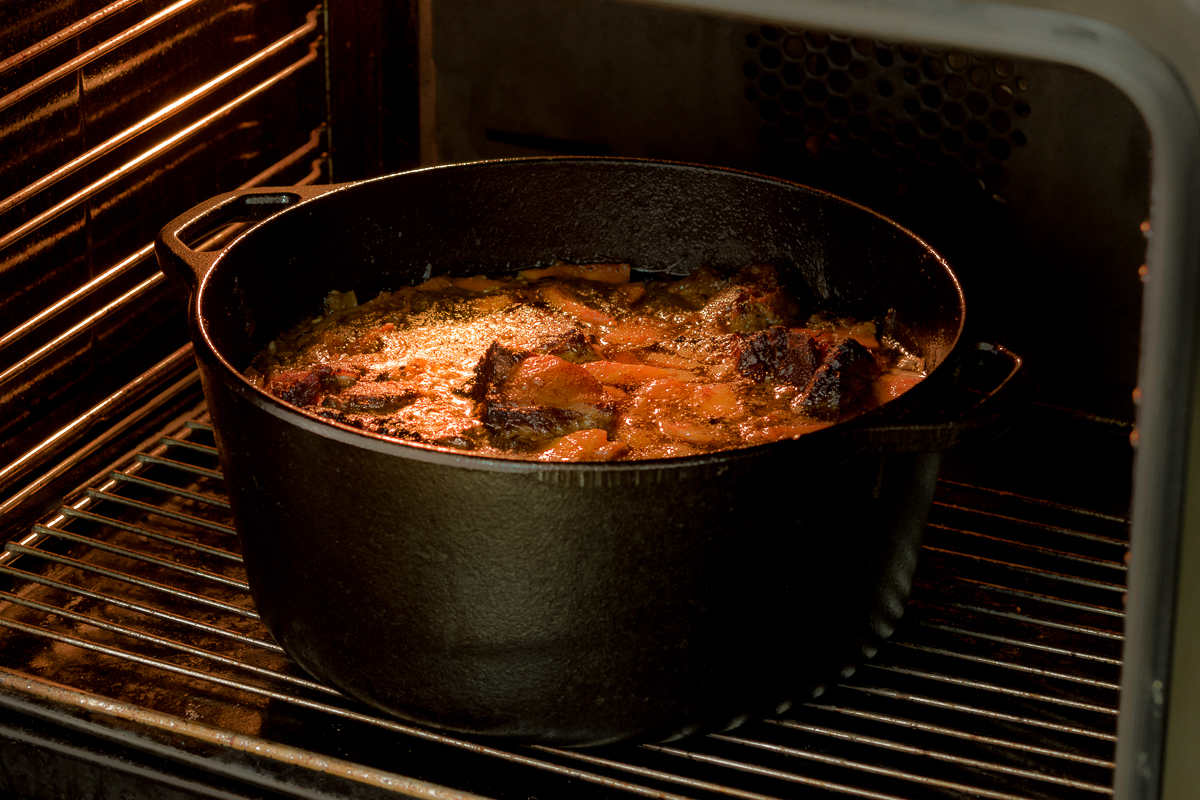
Different cuts will take different lengths of time but one general rule of thumb remains – low and slow is the way to go. Lower heat means gentler cooking, longer cooking time means the meat will become softer and more tender. You can achieve this on a stovetop burner set to low heat but I prefer putting my pot into the oven where I can set the temperature more precisely and the pot is being heated evenly from all angles and not just from the bottom. (If your pot has plastic handles, please don’t do this). I typically braise at 145-160C depending on how long I’m willing to wait and how tough the muscle I’m cooking is.
For example, braised chicken thighs will take 45 minutes at 160C and come out delicious but a piece of oxtail could take upwards of 3 hours at 150C until it’s fork tender. Place the pot in the oven with a lid on for the first 1/3rd of cooking time. This will allow everything to heat evenly and for any liquid that comes out of the vegetables or meat to collect in the pot. For the remaining 2/3rds of cooking, remove the lid and allow the liquid to naturally reduce in the oven. Check the meat after the first hour and every hour or so after that to see how the flavour of the sauce is developing and by using a fork, check how tender the meat is. Check several different pieces of meat because different muscles, even on the same cut of meat, can cook differently.
8. Want to turn your braise into a meal?
The last hour or so is a great opportunity to add veggies to turn your braise into a more complete meal. New potatoes cut in half or carrots chopped into bite-sized pieces added an hour before removing the braise from the oven will result in veggies that still have texture but plenty of flavour from cooking in braising juices.
9. Adjust the seasoning and serve..
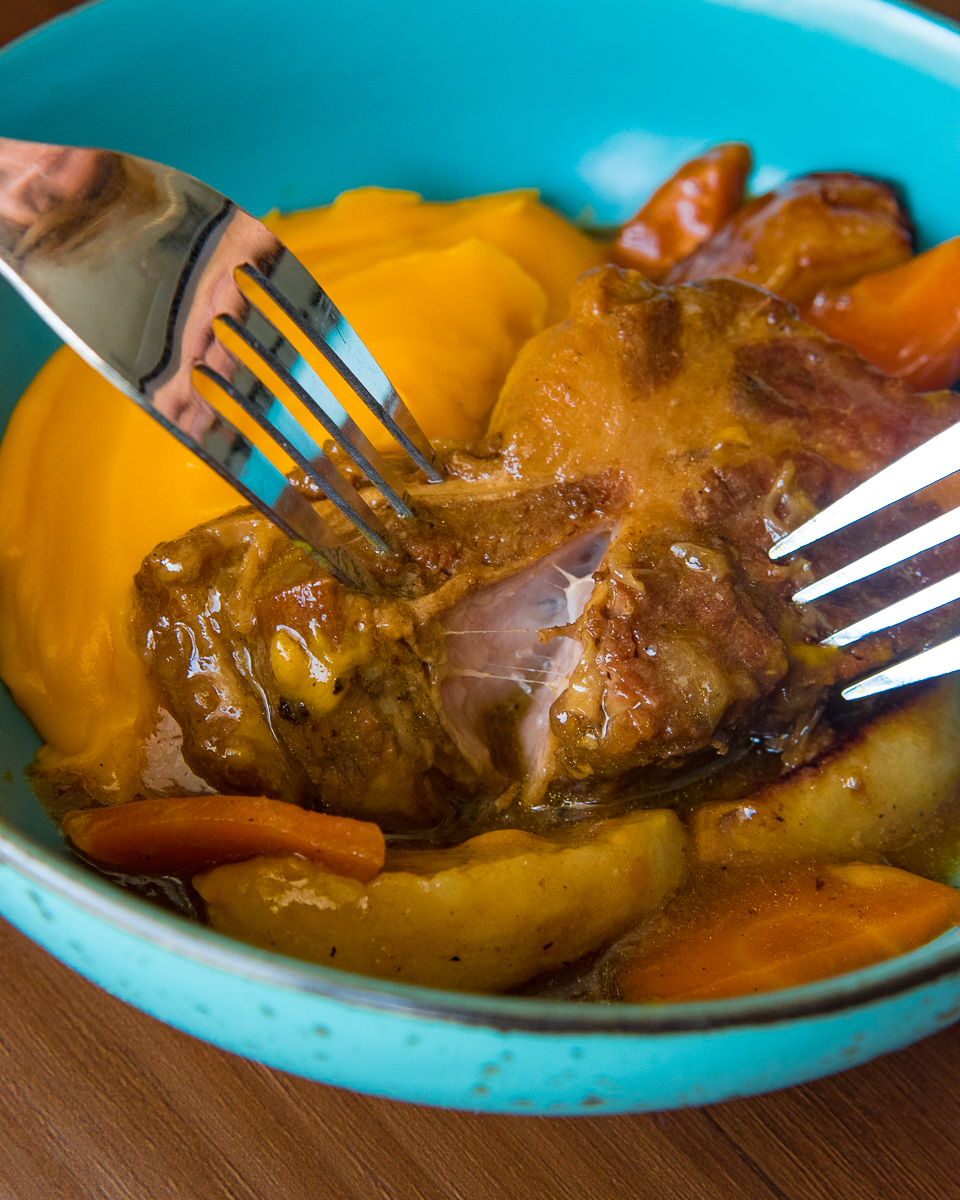
Once your meat is perfectly fork tender, you can carefully remove the pot from the oven. Check for tenderness by quite literally taking a fork and seeing if you can pull the meat away comfortably without reaching for a knife. Adjust the seasoning as necessary with salt and a tiny splash of vinegar or citrus juice to add brightness to this heavy dish if you are happy with the consistency.
9½. ..or adjust the consistency, then seasoning and then serve!
If you’d like your sauce thicker I would recommend removing the meat and setting it aside for now. Strain the liquid from the vegetables into a separate pot and place the pot of braising liquid over medium heat. Reduce the liquid over medium heat until the flavour of the sauce is just right. Adjust with salt and a splash of vinegar as necessary. If the sauce coats the back of a spoon nicely, you should be good to serve.
If the reduced liquid is delicious but still a little bit thin for your liking you can whisk in a knob of butter at a time to add a little bit of body and richness. Alternatively if it’s still too thin, you can cheat. To cheat you can add a slurry which is a combination of a modified starch and water. Starches include corn starch, potato starch, arrowroot etc. Mix a tablespoon of the starch with equal parts water and slowly add a teaspoon or so of this mixture to your braising liquid. Many of these starches will only properly thicken once the braising liquid has come up to a boil so work patiently and only add a little bit at a time. Bring the mixture up to a boil and check the consistency between each addition.
10. Make it nice!
Braises are delicious but they can often look brown and bland despite the incredible flavour they may possess. Adding garnishes can add contrasting flavour, texture and colour to a dish. Herbs, yoghurt, roast nuts, sliced chili, pickles and fruit can all be excellent options – time to get creative!


