Cider-Braised Pork with Sweet Potato Puree and Roast Apples
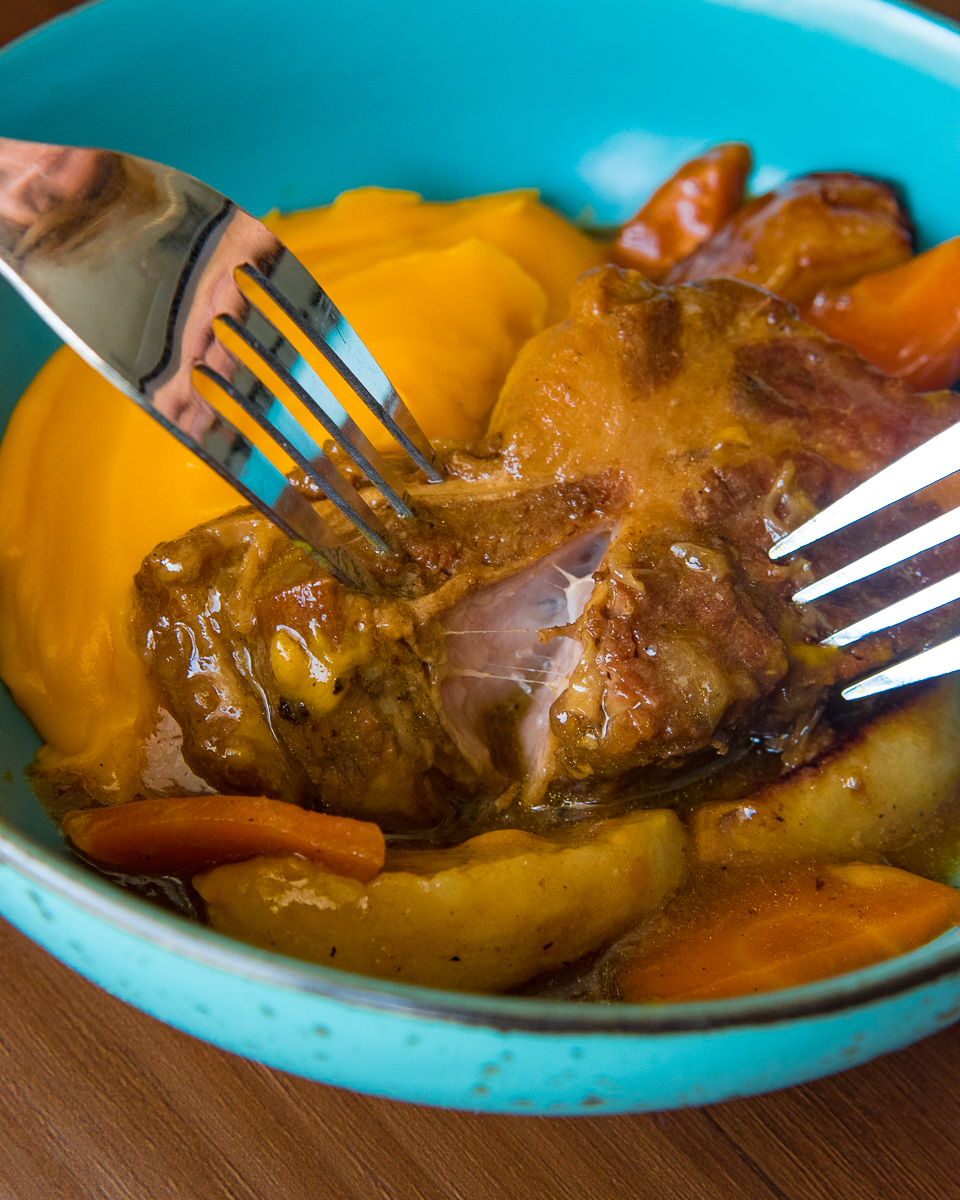
As the weather starts to get colder and gloomier I turn towards meals like this for comfort. This is a great example of the sort of hug in a bowl you want to remind you that even though the weather is unexciting, it doesn’t mean your food has to be too.
To achieve fork-tender, pull-apart, porky-perfection we’re going to need to cook the pork slowly and for a long period of time. The longer the better. For this reason we’ll be using a tougher cut of pork with plenty of fat and connective tissue. I’ve opted for a pork collar which is one of my favourite cuts. It has a beautiful distribution of fatty and lean meat. After a few hours in the oven it becomes incredibly tender. Other tough, fatty cuts of pork will also work beautifully. If you want to master your braising check out my other article on how to braise meat perfectly in 10 simple steps.

Pairing Flavours
Pork is one of those meats that pairs beautifully with sweeter flavours. To fulfill this we’ve opted for the classic pairing of apples and pork. To make use of this synergy, we’re going to braise our pork in apple cider and correct the seasoning at the end of cooking with a few splashes of apple cider vinegar. These are subtle flavours of apple that will go nicely with the pork.
Despite the sweetness and acidity we are getting from the apple flavours in our braise, the dish will still be very hearty and filling. It has plenty of fat, lots of savouriness from deeply colouring the meat and healthy amounts of salt. To contrast this, we’ll be roasting some green apples with cinnamon and butter. These will give us a nice concentrated burst of acidity to relieve us from the heavy flavours of the pork but the butter and cinnamon will also add a warmth to the apple, helping it to tie in with the braise better.
I love to have something like mashed potatoes or polenta with my saucy braised meats. They get soaked in the sauce from the meat and make the dish fantastic to eat with plenty of bread. I genuinely finish entire bowls of food like this with bread alone and ignore my silverware entirely. For this recipe I’ve opted for a sweet potato puree for it’s natural sweetness, autumnal earthiness and vibrant colour. The recipe for this puree works with a number of different vegetables. My personal favourites would be: celery root, butternut squash and carrot.
When I go through the trouble of braising something, I tend to cook large batches just because it keeps so well and is incredibly versatile with regards to what I can use the leftovers for. This recipe serves 4-6 people depending on their hunger levels but I would recommend doubling this and freezing portions for a (literal or figurative) rainy day.
Recipe
For the braise
1kg pork collar, whole
3 medium sized carrots, diced
4 stalks of celery, diced
2 large onions, diced
6 cloves of garlic, minced
1 small bundle of thyme
8 sage leaves
4 bay leaves
1 tsp black peppercorns
1 tsp coriander seeds
500ml dry cider
Salt and vegetable oil

1. Begin by chopping all of your veggies and preheating the oven to 150C. Dice the carrot, celery and onion into small cubes of about 1cm. Take your pork collar and cut into large chunks at least 2 inches thick. Place the pork on a tray lined with paper towels and allow to dry out in the fridge until ready to cook.
2. Lay out a square of cheese cloth, muslin or kitchen towel and arrange the thyme, sage, bay leaves, peppercorns and coriander seeds out over it. Roll up the cloth and tuck in the edges to form a bundle and fasten well with string to secure.
3. Place a heavy bottomed pot or dutch oven over high heat and allow to heat up for 3-4 minutes. Add enough oil to coat the bottom of the pot well and heat until the oil begins to shimmer and the faintest wisp of smoke is visible.
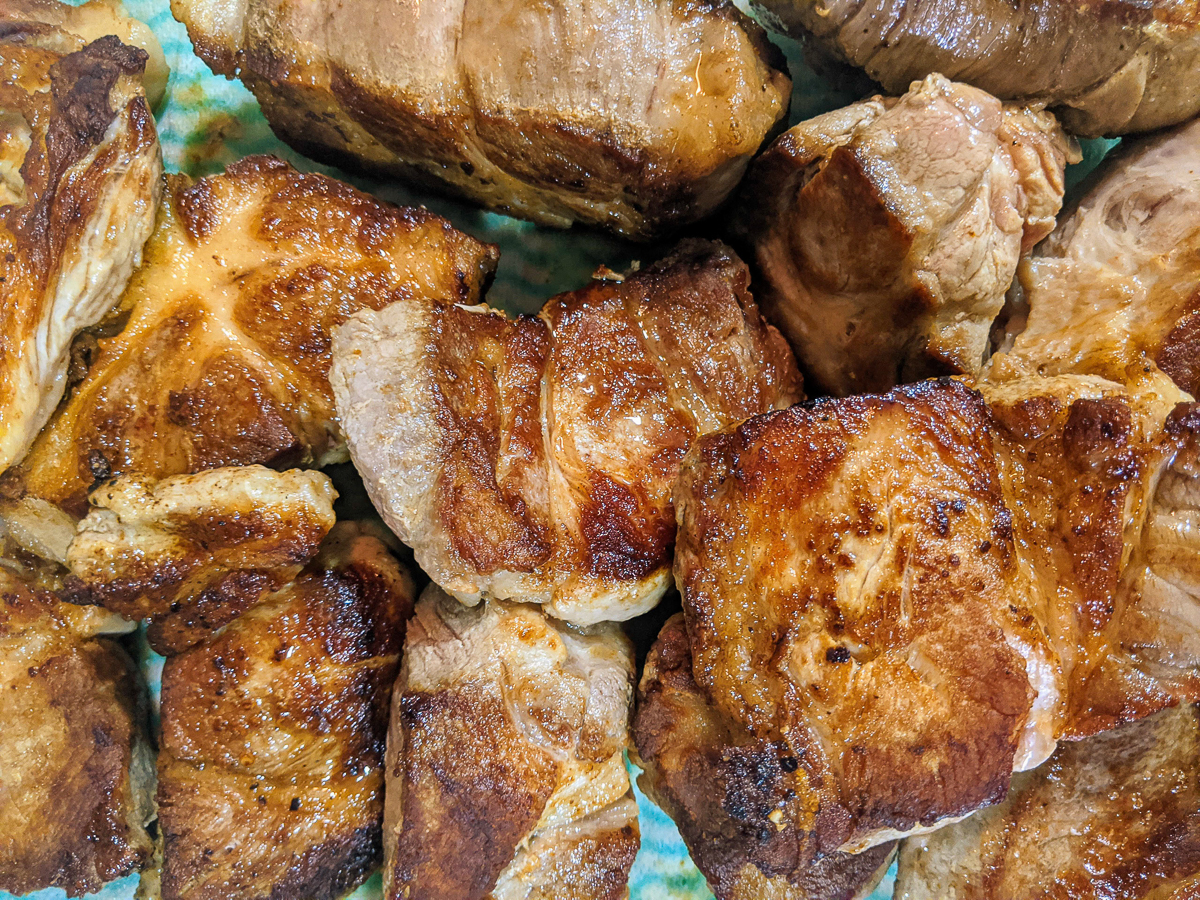
4. Season the pork liberally with salt and lay into the hot pan a piece at a time, taking care not to crowd the pan. Work in batches if needs be. Once the pork is browned on one side, flip over and brown on the opposite side. Once well browned, remove from the pot and set aside in a bowl.

5. With the heat still on high, add the diced vegetables and coat well in the fat leftover from searing the pork. Season with a good pinch of salt and plenty of freshly ground black pepper. Add the bundle of herbs and spices at this point. Continue to cook while stirring occasionally for 15 or so minutes; or until the vegetables are nicely browned. Reduce the heat to medium if things are browning too quickly.
6. Add the minced garlic and stir to combine, cook for 1-2 minutes. Deglaze with 500ml of apple cider and scrape off any fond from the bottom of the pan.
7. Add the pork back to the pan and stir in to submerge it in the liquid as much as possible. Top up with a little bit more water or stock until the meat just about pokes through. Place a lid on the pot and place in the oven for 1 hour.
8. After an hour, remove the lid from the pot and stir to coat the pork with braising juices. Cook for an additional hour.
9. After the second hour, taste the braising liquid to adjust the seasoning with salt and a few drops of apple cider vinegar but keep the seasoning light as it will reduce further throughout cooking. At this point you can add any additional chopped vegetables to the braise. These are being added later so that they still have some textual integrity in the finished dish. I had about 3 roughly chopped carrots leftover from another recipe and threw those in. Add additional ingredients like potatoes to turn the braise into a meal by itself. Allow to cook for another hour before removing the pot from the oven.
10. Check that the meat is tender by tasting or pulling it apart with a fork. If the sauce is too loose, remove the meat from the pot temporarily and strain the braising liquid into a pot. Either reduce the liquid till it is thick or add a slurry. To do so, dissolve 1 tablespoon of corn flour into a few tablespoons of water in a small bowl. Add this slurry to the braising liquid and bring up to a boil. Once lightly thickened, remove from the heat and check if the sauce is at least thick enough to lightly coat the back of a spoon.
11. Combine back with your meat and veg, remove the bundle of herbs and you are ready to serve.
12. This will hold in your fridge for up to 3 days but I always like to store a portion or two in the freezer for the days when I want something comforting to come home to or to add to a nice plate of pasta with some braised meat.
FOR THE PUREE
3 medium sweet potatoes, roughly 750g
6 sprigs of thyme
2 cloves of garlic
2 tablespoons of butter
Water or chicken stock to taste
Peel and thinly slice the sweet potato.
1. Peel and thinly slice the sweet potato.
2. Place a medium sized saucepan over low heat and add the butter and thyme. Lightly crush the garlic clove under your palm and add to the butter. Allow to cook for 3-4 minutes or until the butter starts to colour lightly. Turn off the heat and allow the butter to infuse with the aromatics for 5 minutes.
3. Remove the thyme and garlic from the pot and discard. Turn the heat under the pot up to high.
4. Add the sliced sweet potato to the pot and season well with salt. Coat well in the hot butter and cook for 3-4 minutes. Add enough water or stock to cover half of the sweet potato and place a lid on the pot. Adjust the heat to high and bring up to the boil.

5. Remove the lid from the pot and stir the vegetables. You want to ensure that they are nicely submerged without there being too much excess liquid in the pot. Continue to cook uncovered for 10 more minutes or until the sweet potato can easily be crushed with a spoon.
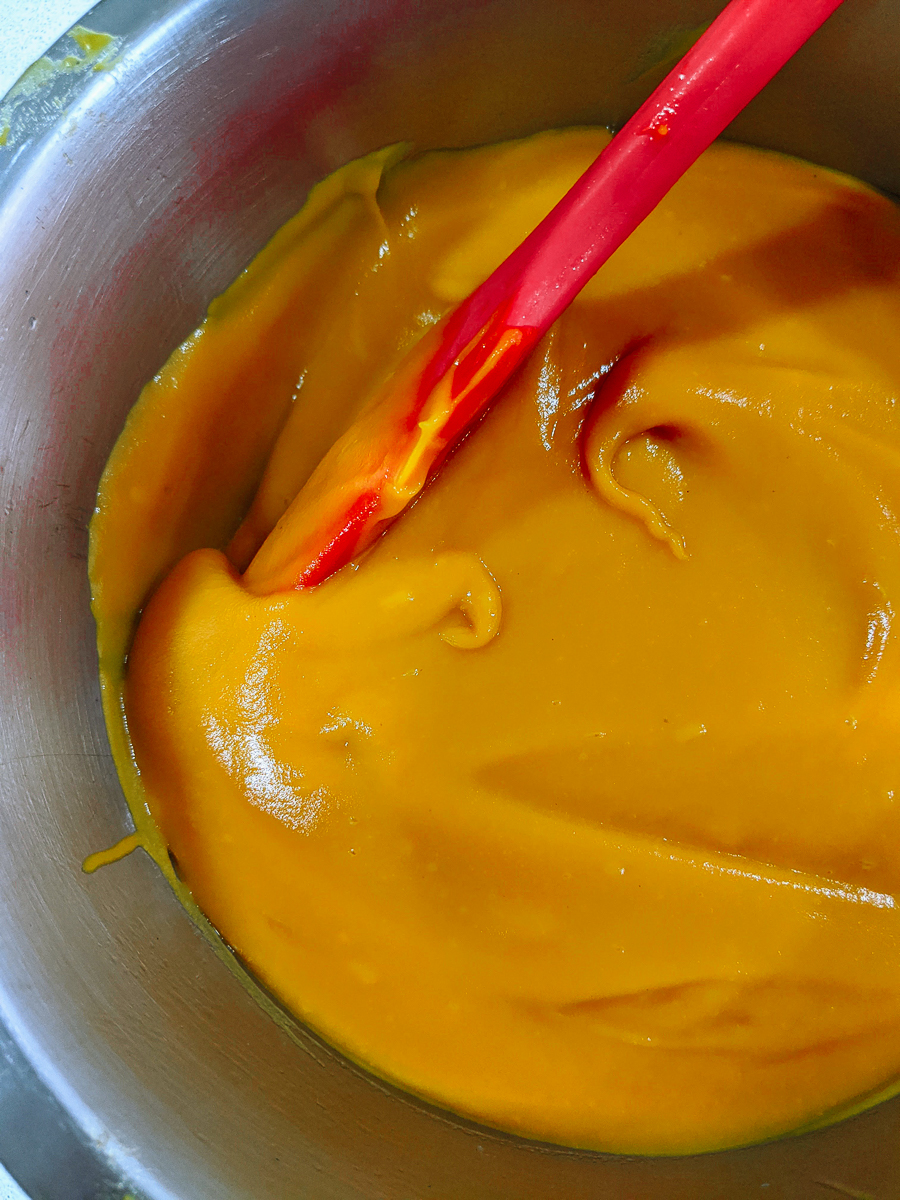
6. Strain off the sweet potato using a sieve over a mixing bowl to contain any cooking liquid. In this recipe I made a smooth puree using a blender but you can also use a food processor, an immersion blender or even crush the sweet potatoes with a potato masher or fork for a more rustic consistency.
7. Add the sweet potato to your blender and begin to blend, adding just enough liquid to allow the blender blades to do their job. Adjust the seasoning with salt, cooking liquid and a few drops of lemon juice, and optionally, a few more knobs of butter. Adding 1/8th of a teaspoon of xanthan gum to the blender while puree is going will give you a nice, smooth puree that will hold its consistency for several days in the fridge.
8. Reheat to serve in a small pot or microwave.
For the roast apples
3 Granny smith or similarly firm, sour apples
2 tablespoons of butter
1 cinnamon stick, broken into 4-5 pieces
Salt to taste
1. Preheat the oven to 200C and place a baking dish large enough to fit all of your apples, I used a pan roughly 25cm x 20cm for 3 apples.
2. In a microwave-safe bowl, microwave the butter with the cinnamon for 30 seconds or until the butter has melted.
3. Peel the apples and cut into quarters through the centre to create 4 wedges. Cut the wedges through the core to create eights that hold the same shape. Cut along the cores without taking off too much apple flesh.
4. Sprinkle the apples lightly with salt and in a large mixing bowl, toss with the cinnamon butter.
5. Remove the baking dish from the oven and lay out the apples so that they fit side by side.
6. Cook for 20 minutes or until the apples are beautifully browned and tender.
To serve, spoon a generous dollop of the warmed puree into the bottom of a bowl, pour plenty of braising liquid over, arrange a few slices of apple around and top with a few large chunks of braised meat, any garnish you added to the braise and even more sauce. Serve and consume with plenty of crusty bread!
Hungry for more chef secrets?
If you found the tips in this article useful and are hungry to discover more chef secrets you can download my free ebook, Pantry Essentials for Maximum Flavour by signing up below. Stock yourself with these flavour bombs and learn to season like a chef to turn even the most mundane of meals into exceptional ones!


