How to Make Brown Butter and Cook with It
I love butter. Being a classically trained chef and having worked in modern French and French-influenced restaurants I’ve used a stick or a thousand in my days. While I can go on forever about how important butter is in your kitchen, that’s not why you’re here. In a matter of moments, with some simple technique, you can elevate this dairy staple into something more complex. To clear up any confusion, brown butter is referred to as beurre noisette by the French, and burnt butter by the linguistically confused (and Australians).
What is Brown Butter?
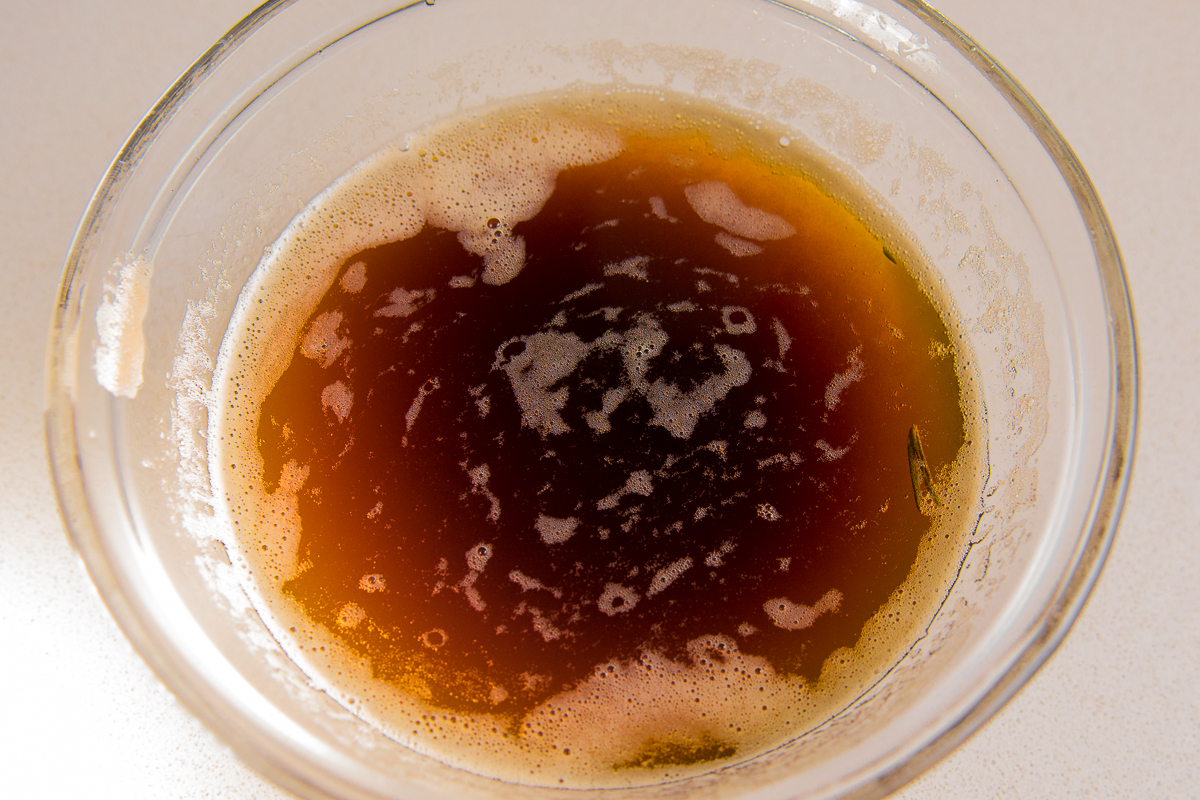
Whole butter is made up of water, fat and milk solids (sugars and proteins). When we heat up whole butter, it breaks down into its individual components. If you keep heating it up, the water will begin to boil, bubble and evaporate. Once the water has evaporated, the bubbling slows down and once the fat has reached 130C, it will begin frying the milk solids. If you brown the solids carefully, they infuse the butter with a beautiful golden brown hue. The aroma and flavour are out of this world. The flavour becomes incredibly nutty and caramelised and complex. For me, brown butter is one of the trademark flavours of cold-weather cooking and deserves a place in your kitchen.
What is Brown Butter used for?
In sweet applications it adds an incredible amount of flavour, depth and nuttiness. Having said that, it is not a direct replacement for whole butter. Keep in mind we’ve melted it down and removed all the water from it so only use it as a replacement for clarified butter or any sort of cooking oil. When replacing it for melted butter, I usually add a little bit of cream or water since we’ve evaporated about 25% of the butter’s weight in water. Brown butter cookies, brown butter brownies, brown butter cheesecake, brown butter ice cream – the possibilities are only limited by your creativity here. The milk solids that brown up are not to be excluded here as they contain an enormous amount of the flavour. Add non-fat milk powder to the butter you are browning to make even more of these solids for your recipes.
In savoury applications the possibilities are just as vast. Brown butter and sage is a classic flavour combination used to make everything from pasta sauces or roast potatoes taste like autumn. You can cook with it as a cooking fat which is incredibly delicious but if you are sauteeing something over high heat you may want to exclude the milk solids. Without the milk solids you can heat the fat up to a high temperature without risk of it smoking. My favourite uses for brown butter here are going to be blended into soups and purees, emulsified into hollandaise instead of melted butter, roasting (mostly potatoes) and other vegetables. Many classical french sauces are based on browning butter and balancing out the fattiness with some sharp acidity like vinegar, lemon juice and capers. The ability to make such a complex sauce in a matter of minutes is a good reason to add this simple technique to your culinary bag of tricks.
How do I make brown butter?
I find it easier to make large batches of the stuff and store it in the fridge, it will last you for months as long as you don’t dig into it with a dirty spoon. I’ll take a 500g block of butter, brown it and store it in the fridge for whenever I need it in a pinch. The following process can also be used to make clarified butter and ghee, either of which could have a place in your kitchen.
All you’re going to need is a whisk, a pot and a heatproof vessel to store the brown butter.
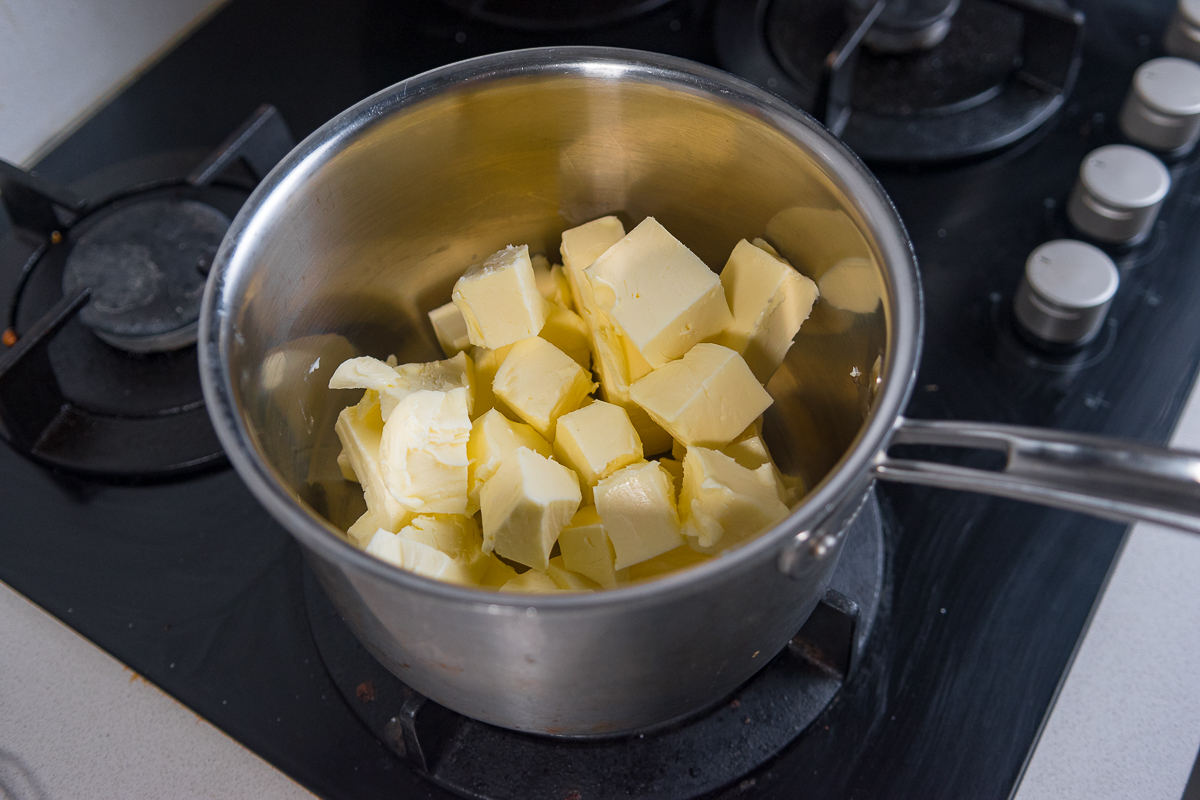
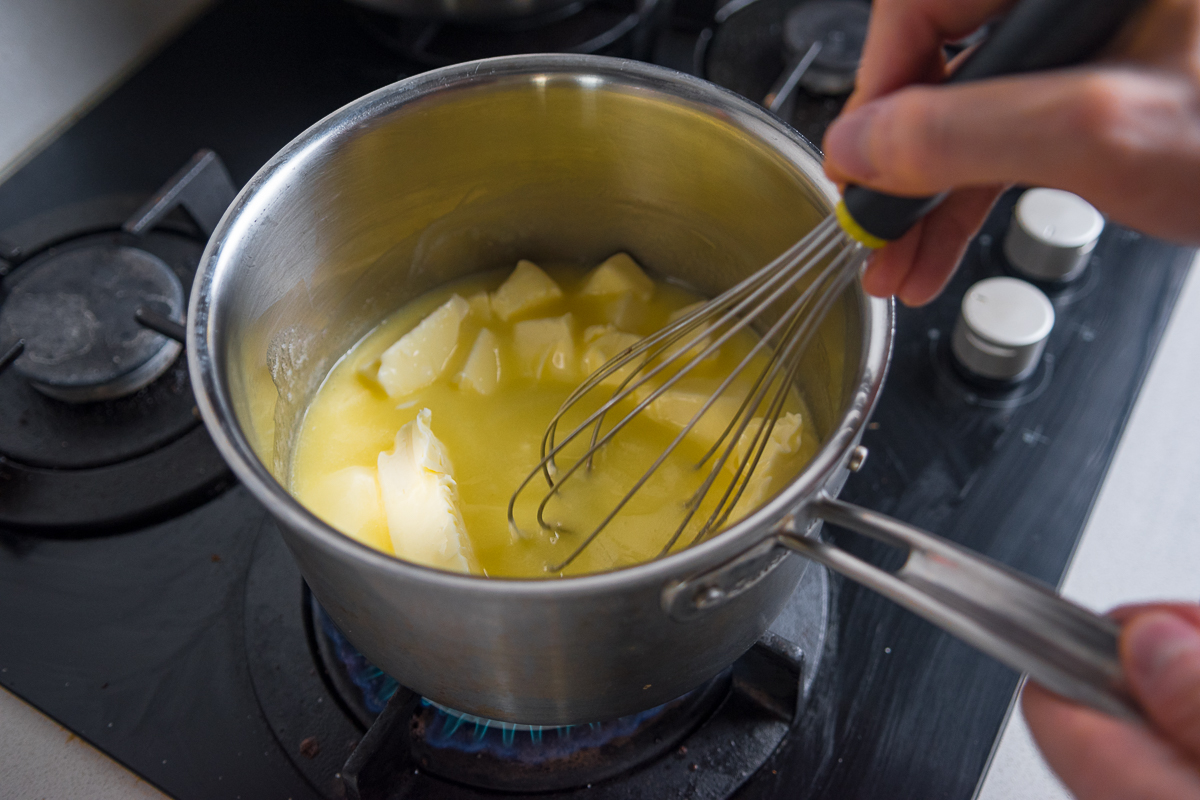
- Cube butter and place into a small pot, preferably not one with a dark inside so we can see the butter colour.
- Crank the heat to high. Slowly start whisking and melting the butter
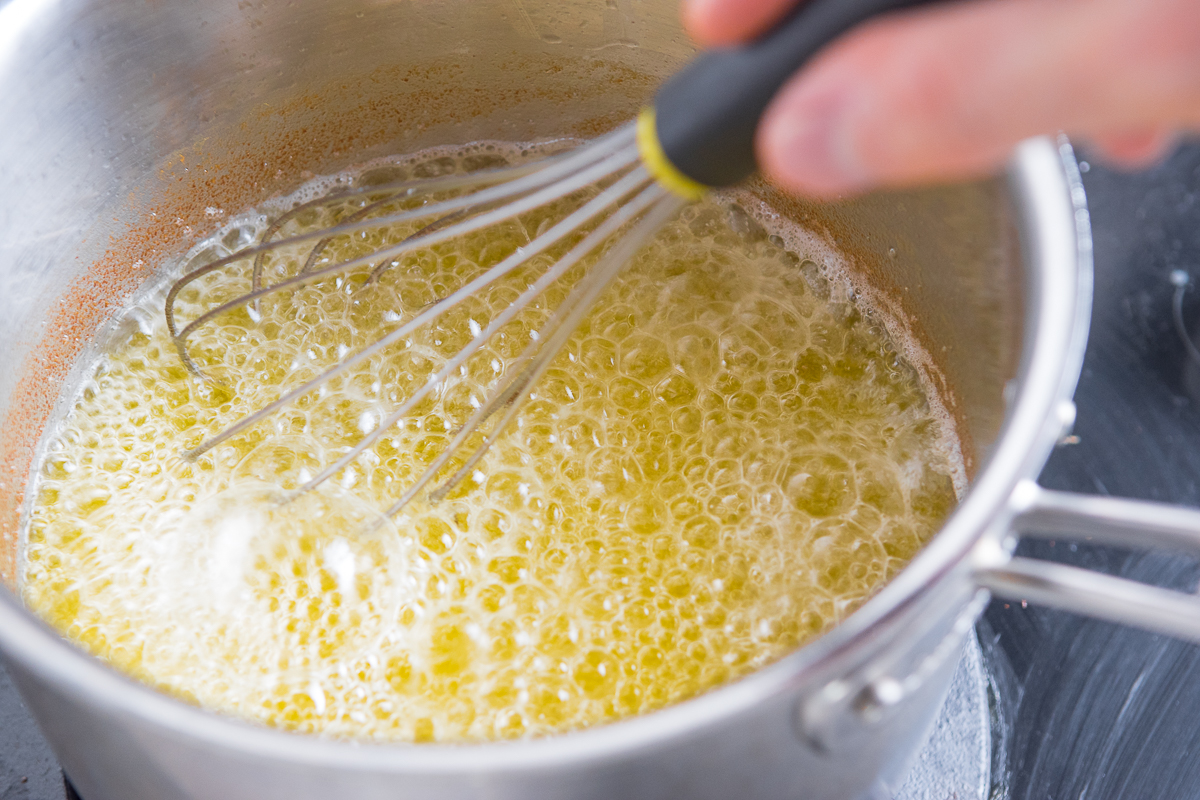
- Once melted, continue to whisk while the butter bubbles away
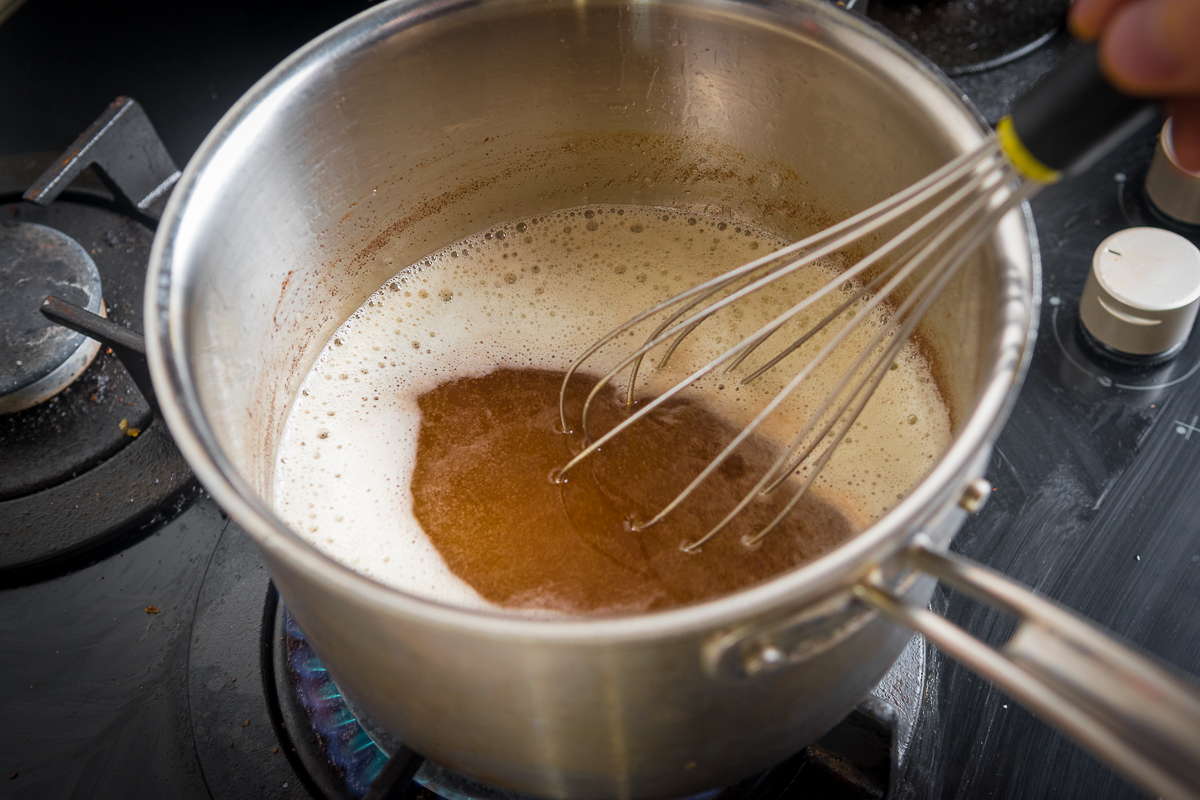
- When then bubbles slow down it means most of the water has evaporated
- Reduce the heat to medium for more control and whisk constantly while keeping an eye on the colour
- The darker you let the milk solids get, the more flavourful the butter will be. Butter that is actually burnt and black is acrid and bitter so don’t let it go too far.
- Using a ladel, spoon or blowing on the butter gently, check the colour. I like to stop when I’ve got a light hazelnut colour as it will get slightly darker as it sits.
- Remove the pot from the heat. If the butter is not in immediate danger of burning, I like to leave it in the pot, off the stove, for an additional 15 minutes. This allows the flavour of the caramelized solids to infuse a little bit longer.
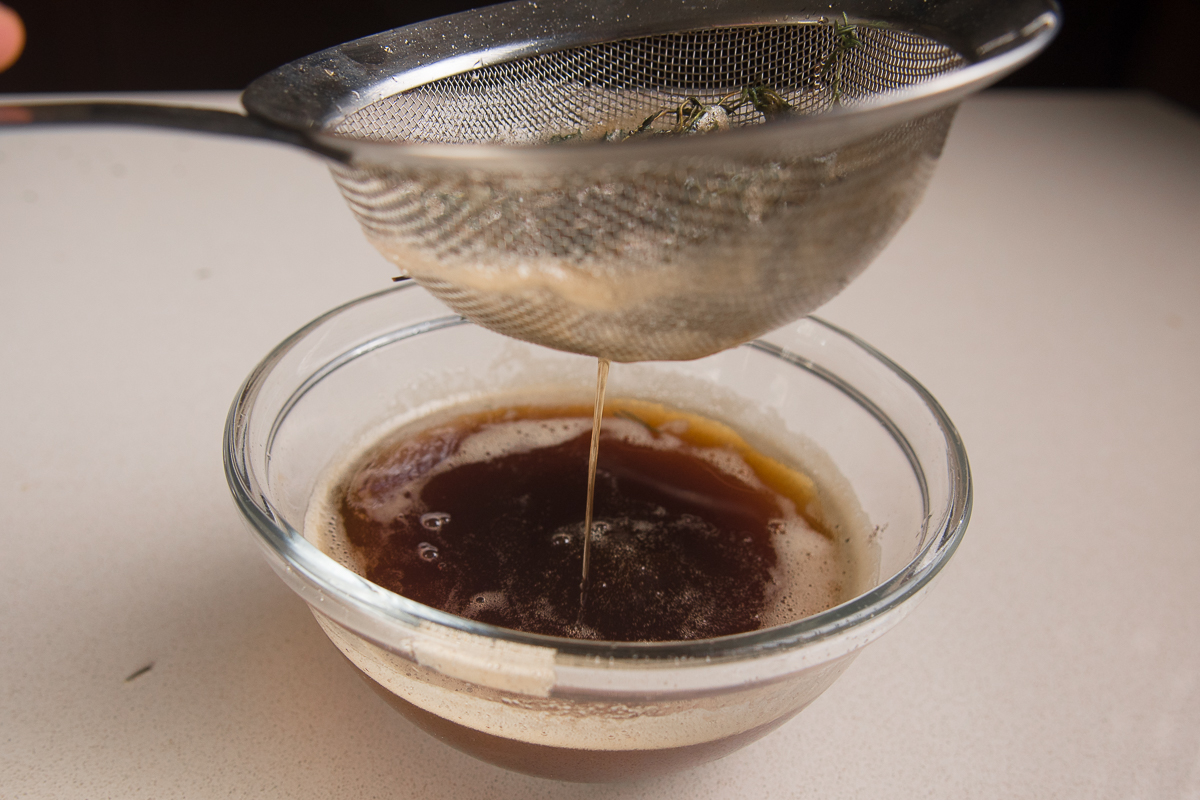
- For sweet applications I’ll store the solids as they are. If I’m going to be using it for savour applications I’ll infuse the butter with a few cloves of lightly crushed garlic and some hard herbs like thyme, rosemary or sage. Either place the aromatics into a strainer and pour the butter through. Or place the aromatics inside the butter and strain them out before the butter solidifies. Do not add fresh herbs and garlic to butter you just pulled off the stove, you will deep fry the herbs, your butter will bubble over and you’ll have a mess and a fire hazard. (This warning is brought to from personal experience)
After step 4 you can strain the milk solids away using a fine strainer and collect your clarified butter or allow the solids to toast ever so slightly before straining to make ghee.
Let’s assume I don’t need 500g of brown butter on hand at all times..
If all you’re after is a quick pan sauce or a drizzling for a plate of pasta, brown butter can be made in a matter of seconds in a pan. Add 4 tablespoons of whole butter to a hot pan and cook until brown and fragrant. Keep it moving using a spoon or spatula to help prevent the milk solids from burning. Adding oil to butter doesn’t prevent butter from burning, ignore this old wife’s tale. Depending on your heat, this process will happen in a minute or two. This also means that it will also burn a lot quicker so do be careful!
Got any recipes for me to use brown butter in?
No! But there are a couple coming shortly so watch this space!
Hungry for more chef secrets?
If you found the tips in this article useful and are hungry to discover more chef secrets you can download my free ebook, Pantry Essentials for Maximum Flavour by signing up below. Stock yourself with these flavour bombs and learn to season like a chef to turn even the most mundane of meals into exceptional ones!
