No Bake Apple Pie Cheesecake
The recipe for this is actually quite simple to put together and is a real crowd pleaser. It’s the kind of dessert where as soon as you tell people what they’re going to eat, they’re already excited by the name (or confused that you made two desserts). You can make this as one large cheesecake but I layered these in thick walled glasses. They present quite nicely and you don’t need to cut the cake at the last minute, making serving dessert even easier.
My secret to making this cheesecake stand out is brown butter. The brown butter in the base adds an extra nuttiness and a lovely flavour. I add a splash of cream to supplement the moisture lost from the butter while it’s browning. Without this, the crumb feels oily. For a detailed explanation on how to make brown butter and other uses for it click here.

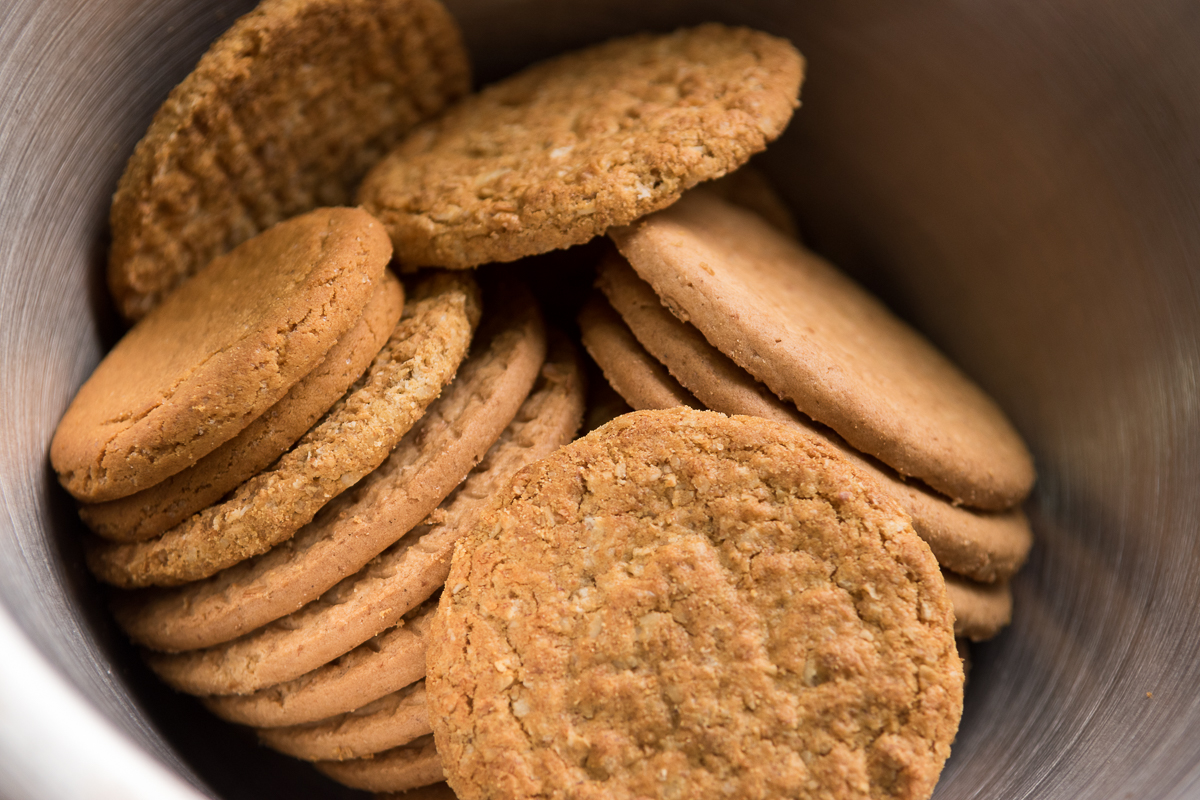
For the biscuit base I use a combination of digestives, hobnobs and ginger nuts. I had these around and liked them together. This gives a nice oaty chew and ginger kick compared to just using digestives. Graham crackers or your favourite biscuit will work just fine too.
The filling is quite straight forward, using cream cheese for flavour and consistency and whipped double cream for lightness. Double cream is essentially a very thick cream and can be found in supermarkets.
Alternatively you can make your own double cream by taking 600ml of normal cream and heating it up in a pot until it has reduced in volume by half. Add a cinnamon stick or the pod of your vanilla bean to infuse with flavour throughout the process. Allow to cool, covered with cling film before whipping. Make sure the cling film is pressed up against the surface of the cream or it will form a skin.
We poach the apples in apple juice to amplify their apple flavour. Buy a good quality juice or press your own at home. The better the flavour of the juice, the better the flavour of the end result. Apple cider could be a delicious, boozy alternative. Replace half of the apple juice with cider if you choose this route. Also, don’t get rid of any extra poaching liquid! It’s absolutely delicious in a glass by itself or in a nice cocktail.
Some of the poaching liquid is going to be set with a small amount of gelatin. This will set a soft jelly on the top of your cheesecake giving you a distinct layer. You can use this technique with most other juices (not pineapple) using a ratio of 200g juice : 4g gelatin (2% of the original weight in gelatin).
Ingredients
Biscuit Base
100g digestives
100g hobnobs
50g ginger nuts
(any biscuit combo will work)
100g butter
20g cream
Pinch of salt
Fillling
600g mascarpone / cream cheese
100g icing sugar
300ml double cream
1 vanilla bean or 1 tsp of vanilla extract
1 tbsp cinnamon
Apple and lemon juice to taste
Apple Gelee
750ml Apple Juice
3 Granny smith apples
Lemon juice from half a lemon
4g gelatin
1 cinnamon stick
Method
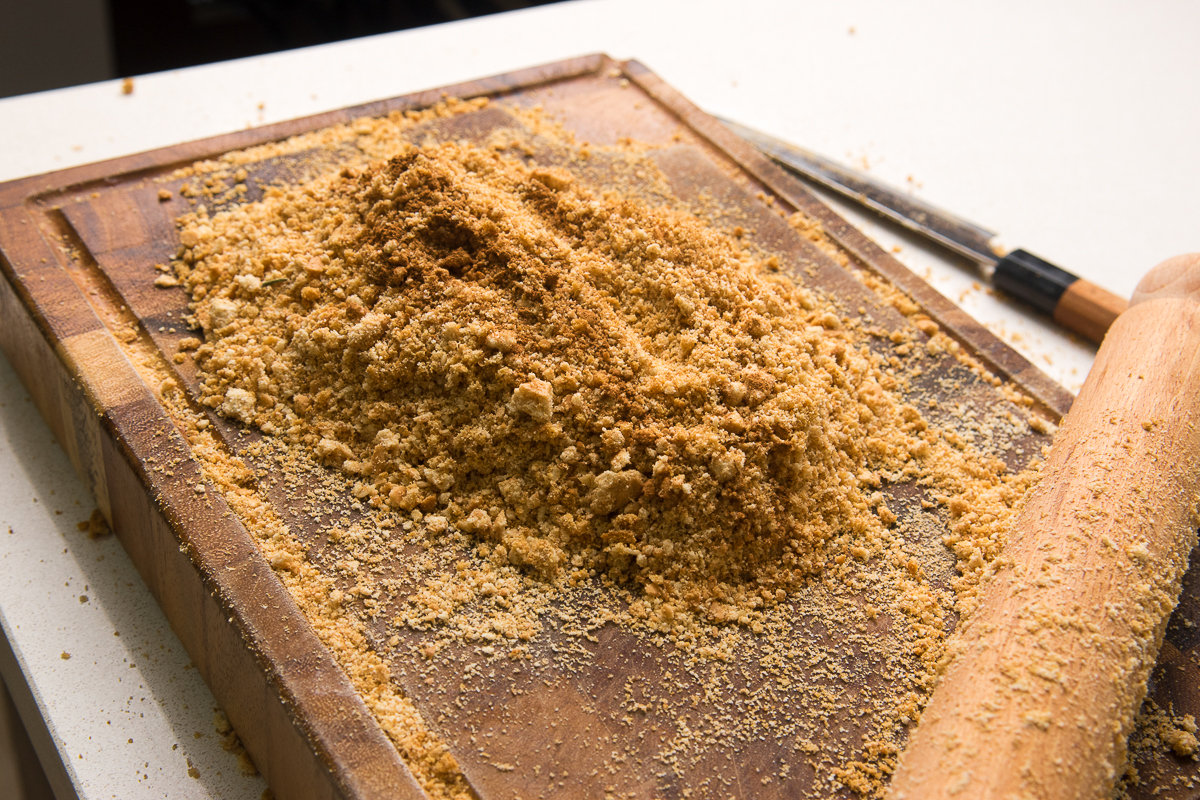
1. For the biscuit base place the biscuits into a food processor and pulse until they take on the texture of coarse breadcrumbs. Place into a mixing bowl. Alternatively place into a plastic bag and bang with a rolling pin or chop roughly with a knife and roll over to crush with a rolling pin.
2. Melt the butter in a pot over medium heat and whisk until it stops bubbling and it begins to brown. Remove from the heat and leave in the pot for 10 minutes. For a more detailed guide to brown butter click here.
3. Pour the butter over the biscuit crumbs and add the cream and a pinch of salt. Mix to combine.
4. For the filling, whisk together the mascarpone, icing sugar, vanilla and cinnamon until smooth. If using a vanilla pod, split the pod in half and scrape out the seeds, add the seeds and reserve the pod to infuse some cream or store in some sugar to make vanilla sugar. Fold the seeds into the mixture.
5. In a separate bowl, whisk the double cream until it holds stiff peaks. Fold the two mixtures together and add 2 tablespoons of apple juice and 1 tablespoon of lemon juice. The slight amount of acidity here will balance out the heavy sweetness in the cheesecake.
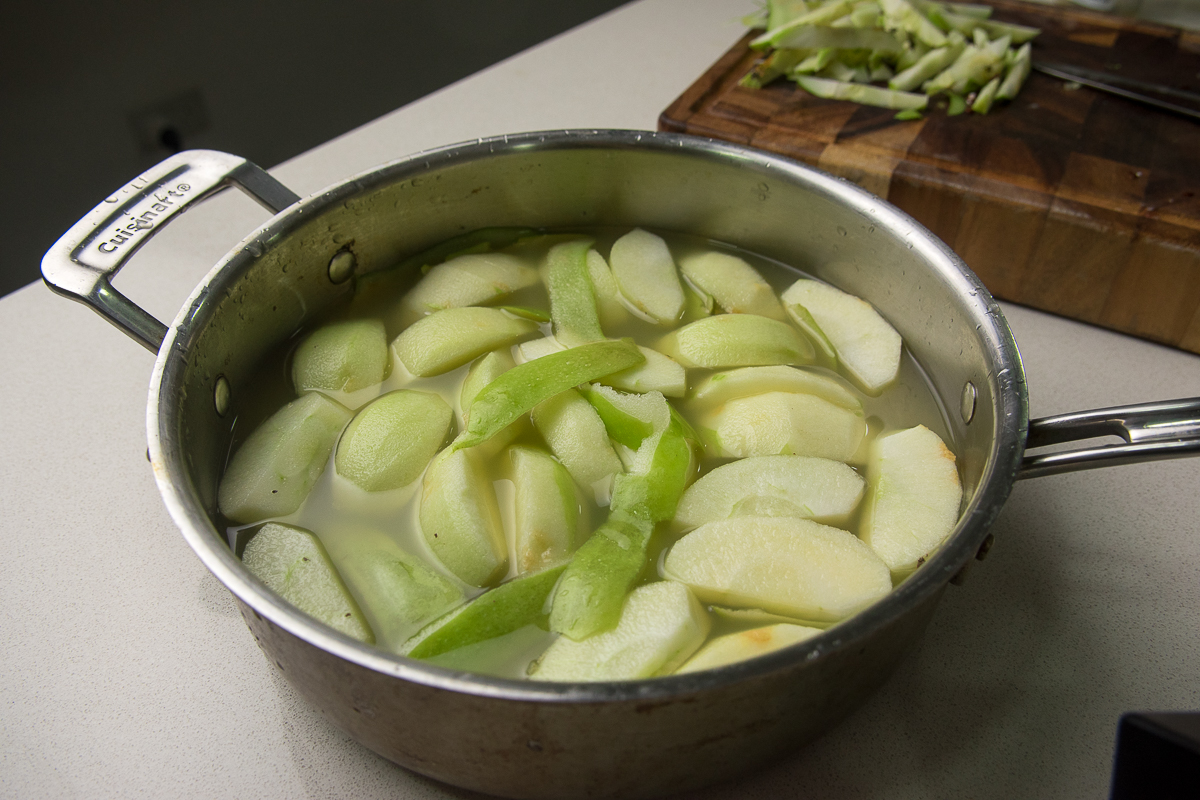
6. For the topping, peel and cut the apples into eighths through the centre. Remove the seeds from each wedge. Fill a medium sized pot with good quality apple juice and the juice of half a lemon. Bring up to the boil with 1 cinnamon stick.
7. Add the apples to the pot and turn off the heat. Place a lid on the pot and allow the apples to sit for 20 minutes. Check on them and remove from the heat once tender. If not completely tender yet, bring up to a simmer again and turn off the heat. Allow to sit for 5 more minutes and check the texture.
8. Just before you are ready to build your cheesecakes, remove the apples from the pot and place into a mixing bowl. Let them cool in their juice. Remove the apples and cut into small cubes.
9. Seperate 200ml of the juice into a small pot and add 4g of sheet gelatin. Wait 5 minutes for the gelatin to soften and bring the juice up to the boil over high heat. Whisk to dissolve the gelatin and remove from the heat.
10. Add enough diced apples to the pot until they are well coated in the thickened juice. Remove from the heat and add the apple and gelatin enriched juice to a mixing bowl. Allow to cool to room temperature before assembling.
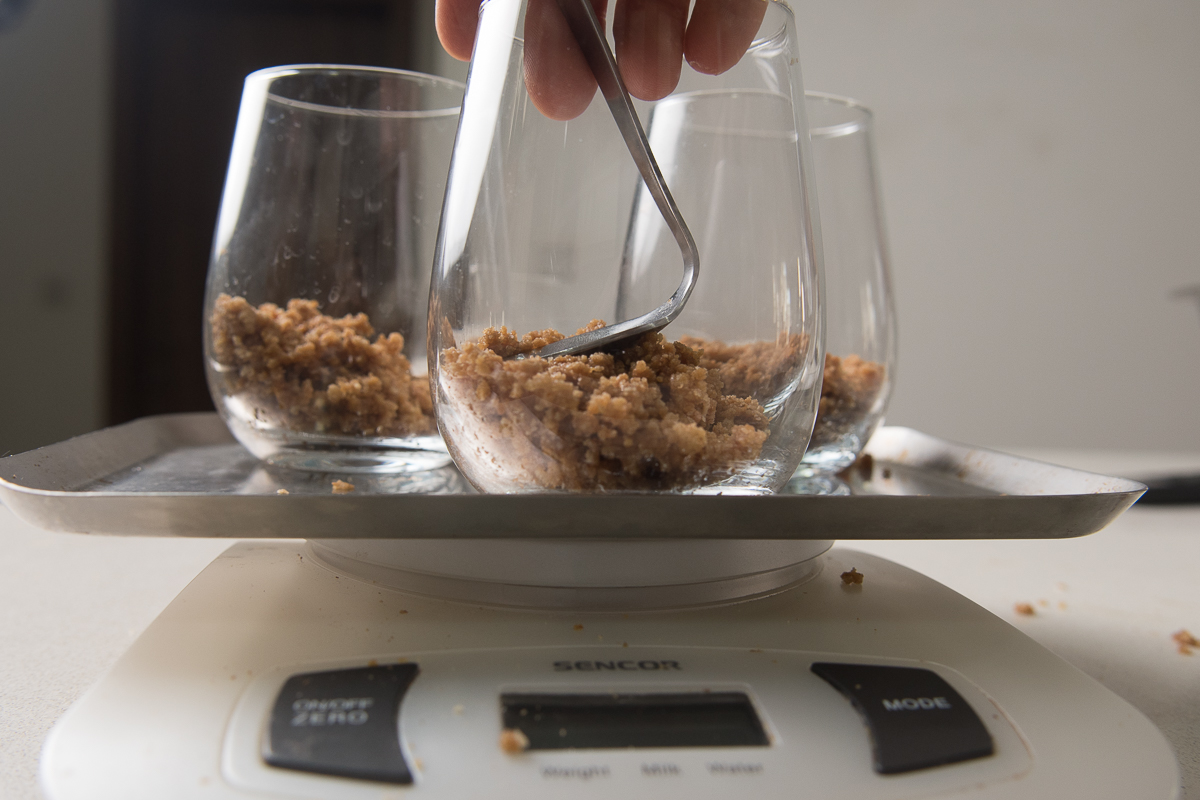
11. To assemble, add 2 heaped tablespoons of biscuit base to the bottom of each glass and press down using a spoon. If you want to make each cheesecake equal and precise you can do this on a weighing scale and make sure the weights of all of your dessert components are equal. To push down the biscuit space, sacrifice a teaspoon by bending it as shown, this will make it much easier to pack the base into place.
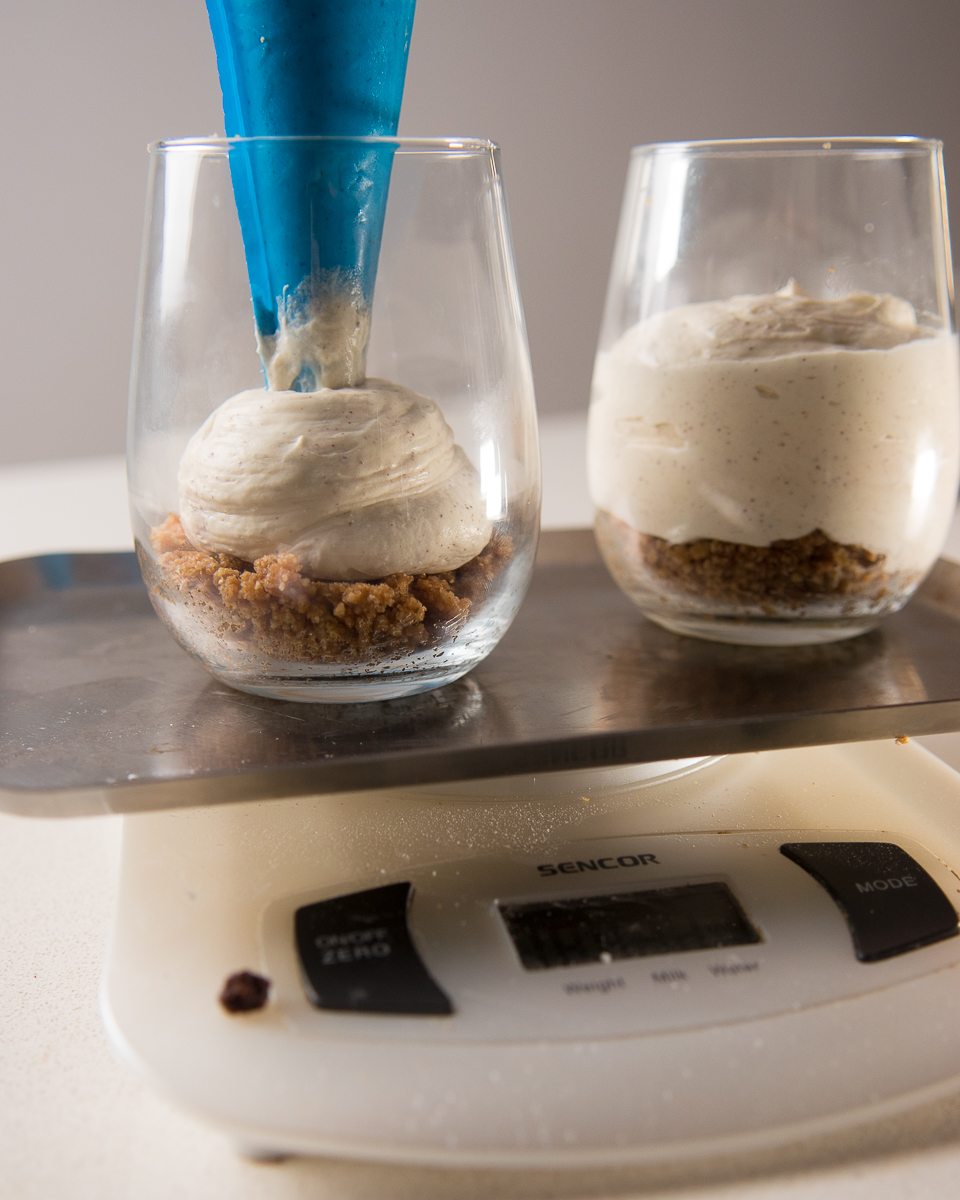
12. Using a piping bag, divide the filling between 6 glasses. To flatten the mixture, hold the glass and tap it down gently onto a folded towel placed on a countertop. A few gentle taps should push the mixture down and flatten it. Place into the fridge for 10 minutes to firm up the filing.
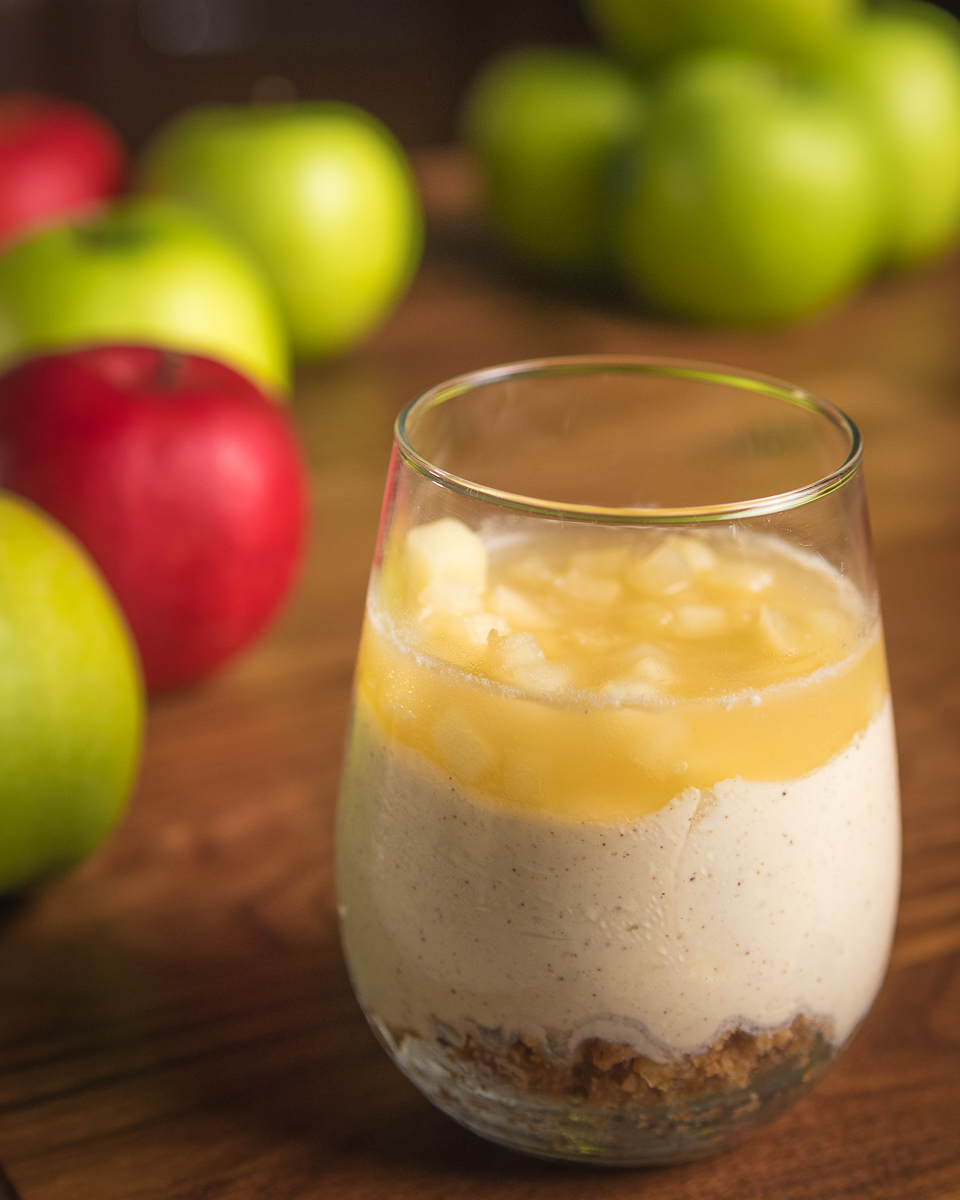
13. Add a nice 2 cm layer of diced apples to the top of each cheesecake and gently spoon on enough of the gelatin-apple juice to cover.
14. Allow to chill for 1 hour and serve within 3 days. Optionally finish with a cinnamon sugar mixture of 3 parts sugar, 1 part cinnamon. A little sprinkle for texture and visual interest is plenty.
Hungry for more chef secrets?
If you found the tips in this article useful and are hungry to discover more chef secrets you can download my free ebook, Pantry Essentials for Maximum Flavour by signing up below. Stock yourself with these flavour bombs and learn to season like a chef to turn even the most mundane of meals into exceptional ones!
